Programming Projects for Advanced Beginners #5: Snake
02 Dec 2018
This is a programming project for Advanced Beginners. If you’ve completed all the introductory programming tutorials you can find and want to sharpen your skills on something bigger, this project is for you. You’ll get thrown in at the deep end. But you’ll also get gentle reminders on how to swim, as well as some new tips on swimming best practices. You can do it using any programming language you like, and if you get stuck I’ve written some example code that you can take inspiration from.
NEW
Subscribe to my new "Programming Feedback for Advanced Beginners"
newsletter to receive concise weekly emails containing specific,
real-world ways to make your code cleaner and more professional.
Each week I review code sent to me by one of my readers. I highlight
the things that I like, discuss the
things that I think could be better, and offer suggestions for how
the author could make their code cleaner and easier to work with.
Subscribe now to receive these invaluable improvements in your inbox
every week, completely free.
Press start to play
In this project you’re going to build the classic game “Snake”. In Snake, the player pilots a snake around a grid, trying to eat apples and avoid crashing into walls or their own tail. Each time the snake eats an apple, its body gets longer. Eventually it eats so many apples and its body gets so long that it fills up the entire world. Death becomes inescapable, and the player is suffocated beneath their own success and greed.
The first version of Snake was written in the 1970s for an ancient computer with an acronym instead of a name, but the first time that I and many other people of a certain age played it was in the 1990s on the Nokia 3210 mobile phone. If you have never owned a Nokia phone then Google has a vanilla version that you can try out. Our version will be much better.
Design decisions
Before we write a single line of code, we have a lot of design decisions to make. Should our game run in the terminal? On a browser? What should the gameplay be like? How fun should it be? What ingredients should it have? Make a list of as many different features that our Snake game could have as you can dream up. For now don’t worry whether your ideas are good, desirable, or even remotely possible. There are no rules apart from the normal requirements of human decency. How about:
- 2-player mode
- 2-player mode over the internet
- AI players
- High-score leaderboard
- Slow-motion replay mode
- Maze mode
- …keep going
Done? OK. That was the bait; now it’s time for for the switch. We’ll get to all of your no doubt first-rate ideas eventually, but our first version of Snake is going to be a frill-free environment. It will run in the terminal; the player will have to press “enter” every time they want to make a move; and there will definitely not be a 2-player mode, at least not at first. Once we’ve got this prototype working then we’ll let loose and build out of the advanced features that you just came up with, but we’re going to begin by taking things one slither at a time.
This is the first Programming Project for Advanced Beginners in which I’m going to recommend that you use Object-Oriented Programming (OOP). If you haven’t come across OOP before, you have several options. First, you can go back to the previous PPABs and work through without using OOP for now. Second, you can go to Google and get familiar with the core concepts behind OOP before continuing with this project. Finally, you can push on and pick things up as you go along. All of these approaches are valid.
Remember, you never have to use OOP. Any code written with objects and classes can also be written without them. But I’m recommending OOP for this project because I foresee that it is going to become long and complex, and I believe that the extra structure that OOP brings will be invaluable. We’ll be able to group related functionality and data together into different classes, which will be much easier to work with than a single big ol’ pile of methods.
Fear and paralysis
Before we begin, I’d like to say a few words on fear and paralysis.
It’s often said that software design has no rules, only principles. The principles of OOP design could fill more pages than a complete guide to infinite loops. These principles can all be invaluable tools for writing great software, but they come inextricably bundled with a bumper-pack of novel ways in which to worry that you’re doing it wrong. This makes it more critical than ever that you remember Principle 0: don’t get paralyzed by the fear of makking a mistork.
(See?)
This doesn’t mean that principles 1 through 45,819 aren’t important, correct, and helpful. But they’re what version 2 and the rest of your career are for. You can always go back and improve your code once you’ve written a first draft, and if your first draft already works then maybe that shows that it can be OK to ignore principle 5,612 every now and then. But if you don’t remember Principle 0 - don’t get paralyzed by the fear of makking a mistork - then you won’t even have a first draft to go back to.
Sophisticated design principles can make your code faster, more flexible, more modular, and all of the other positive adjectives that people use to describe high-quality software. But they also make it more complex. AbstractSyntaxRenderers and DoubleBackflipDatabaseTransmogrophiers do make some programs clearer and easier to understand, especially large ones. But they can also be the equivalent of using a metrics-oriented, fully agile, stakeholder-prioritized development flow for working on a jigsaw puzzle with your dad. Sure you’re following best practices, but you probably didn’t need to, and now your dad thinks you’re a Scientologist.
Don’t mistake this for anti-intellectualism. Best practices are called “best” for a reason. But best is sometimes in the eye of the beholder and the task that they are beholden to. If your code works then you did it! Sure, if we were going to release it as a product then we might rework a few things first, and I suppose it could be a bit faster, and yes these things do matter. But you did it! Writing version 1 will often teach you more about the problem you are trying to solve than hours of office-chair philosophizing. It’s often easier to improve something simple but a bit wrong than something correct but overcomplex.
Do the best you can with the tools you have available, and keep making forward progress. Speaking of:
The Plan
As with all Programming Projects for Advanced Beginners, we’ll tackle this project one small milestone at a time. We’ll check that our program behaves as we expect after each milestone, and we’ll be constantly vigilant for bugs at all times, not just at the end. I’ve broken up building our Snake prototype into 6 steps:
- Set up our 3 main classes -
Snake, Apple, and Game
- Render an empty board
- Initialize a snake and render it in the board
- Let the player pilot their snake
- Work out when the player has died
- Add apples to the board and let the player eat them
Let’s begin.
1. Set up our classes
Start by sketching out placeholders for our classes. We’ll begin with 3 - Snake, Apple, and Game. We’ll fill them in with some actual logic in later steps.
# This is *pseudo-code* - translate it into
# whatever language you are using.
class Snake {
}

class Apple {
}

class Game {
}
The purpose of a class is often expressed in terms of what it is and is not responsible for. For example, our Snake class will be responsible for very little. Its job will be to store data about where our snake is and which direction it is heading, and very little else. It will not be responsible for keeping track of how many points the player has. It will not be responsible for printing anything to the terminal. It will not even be responsible for working out when the snake has bashed into itself and died.
Our Apple class will be responsible for even less than our Snake. All it will store is an apple’s location on the board. You could argue that Apple doesn’t even need to be a class, and that the apple’s location could just be a simple variable inside Game. I personally think it’s still good to have an Apple class - partly for consistency with the fact that we have a Snake class, and partly because I can easily see us adding more properties to Apple, for example making each apple worth a variable number of points.
All of the responsibility for actually executing the game will be pushed into our Game class. This is where we’ll get input from the player, display the board, keep track of point totals, and manage everything else that our program does. As our program gets longer and more complex, we’ll start breaking parts of Game’s functionality off into new classes. Maybe we’ll have a Renderer that will be responsible for displaying the game state. We might also want a Player class that takes charge of asking the player (or maybe an AI) for their next move. We might even want a Board class, dedicated to managing the positions of our Snakes and Apples.
However, we don’t have to add any of these finesses until they’re actually needed, which won’t be until the extensions section of this project. We’ll start by keeping things simple and putting all of our logic in our single Game class. We’ll use our visions for the future to group together pieces of related logic, making them easy to break off into separate classes when the time comes.
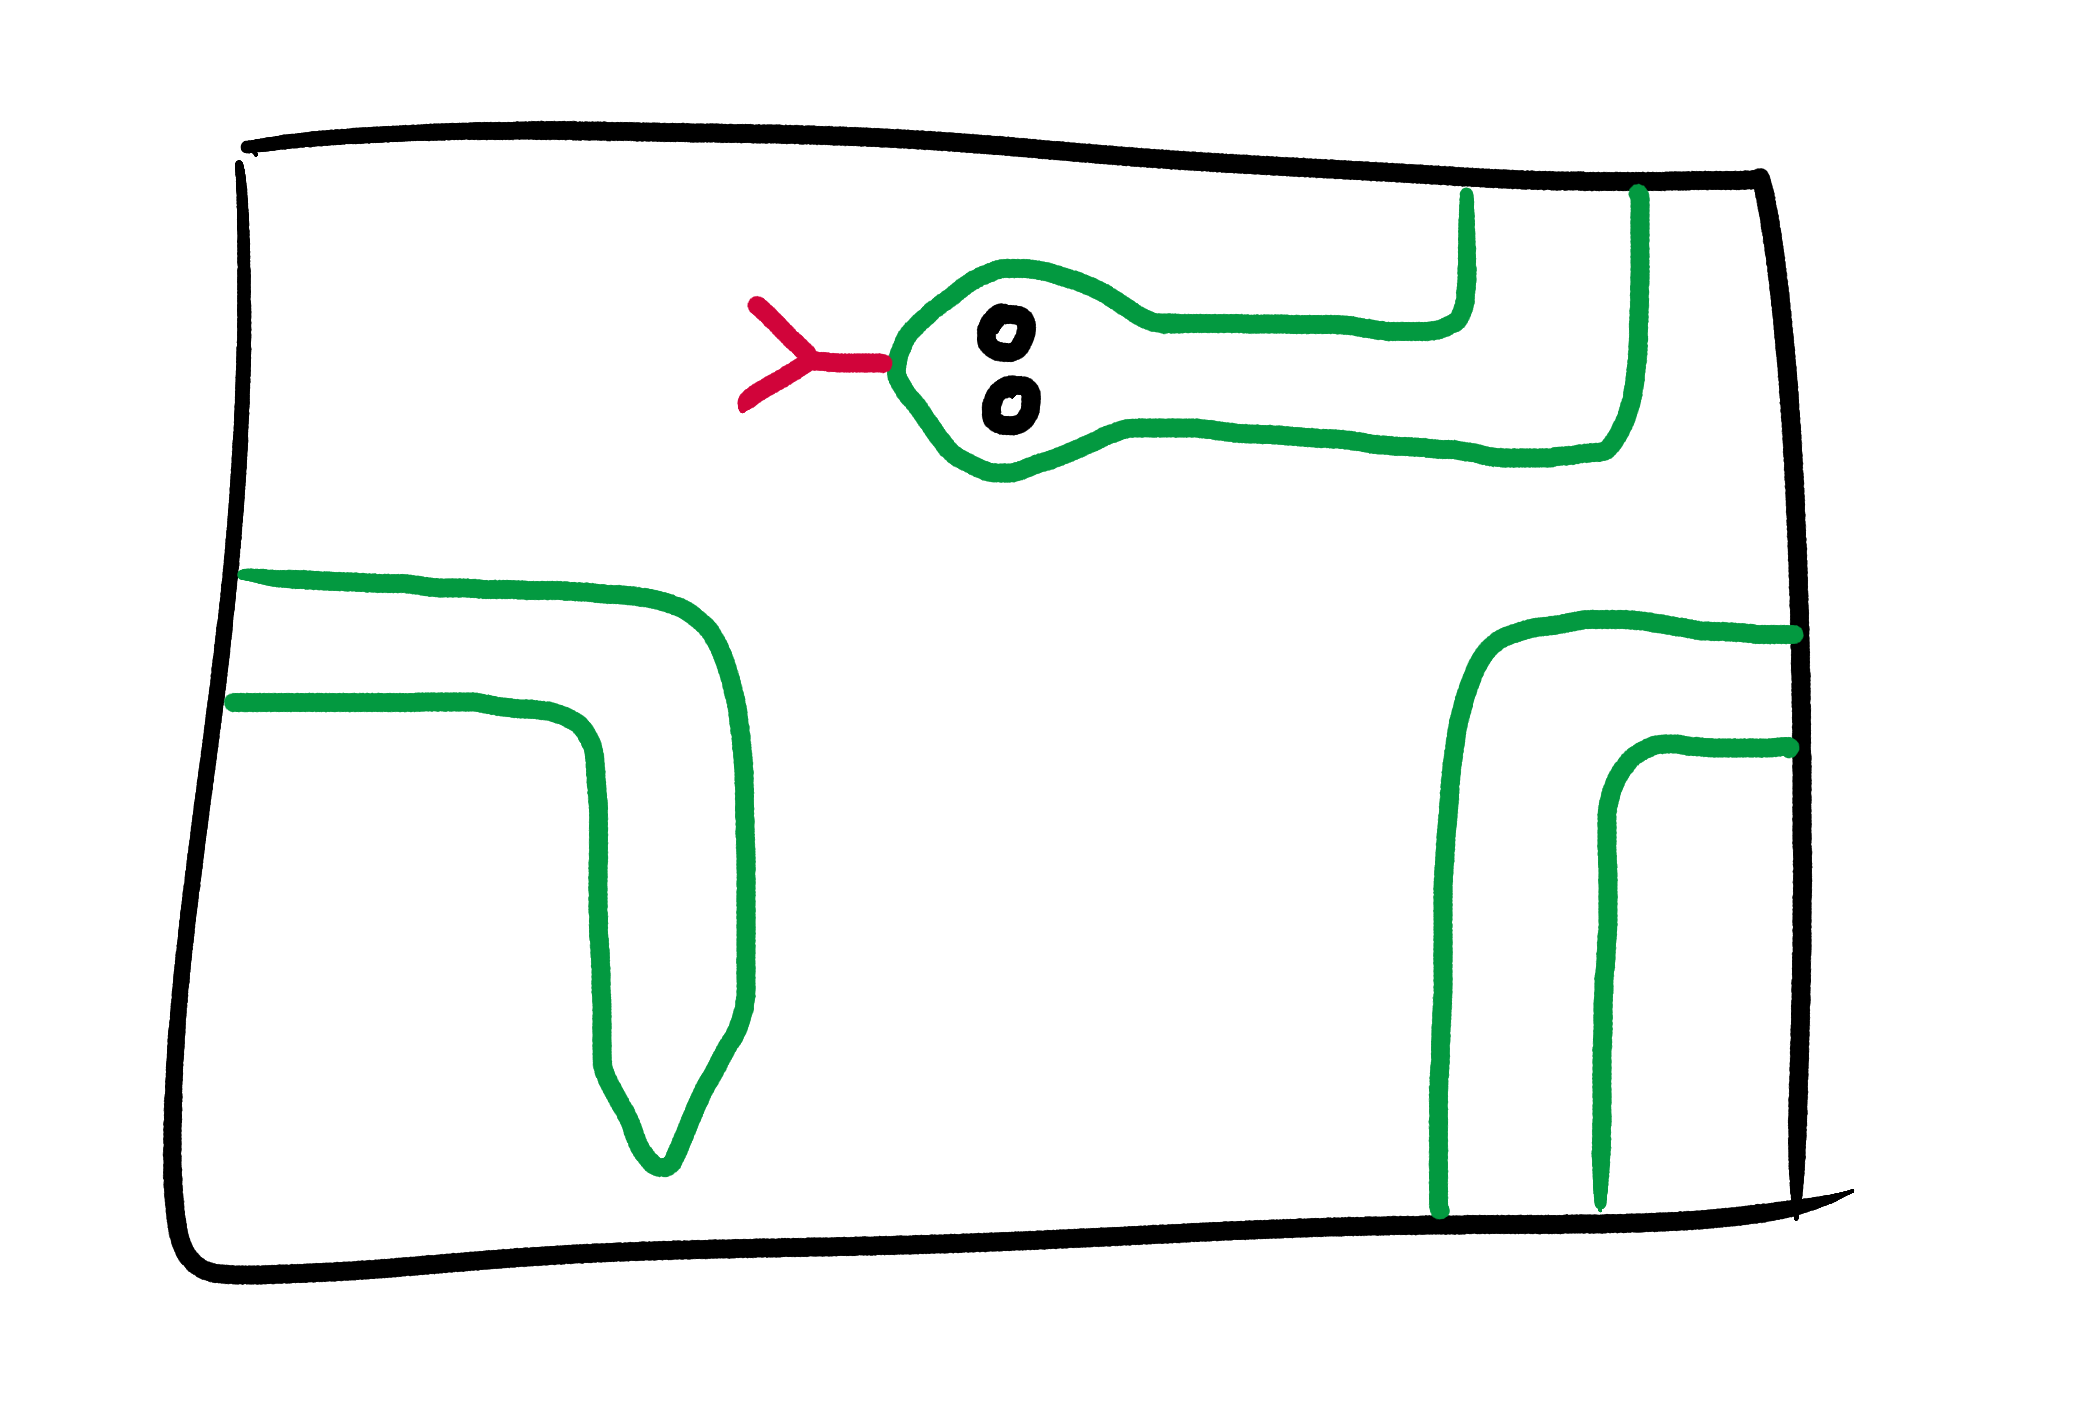
2. Render an empty board
Now let’s work on displaying the board. This will give us a nicely-formatted way to inspect the state of our program, and will make debugging the rest of our code much easier.
We need to start by setting the height and width of our board. Add height and width as arguments of our Game class’s constructor method. Add a render method. This will eventually print our game state to the terminal. For now, simply have it print out the game’s height and the width. Test it out.
# Pseudo-code:

class Game {
  def initialize(height, width) {
    self.height = height
    self.width = width
  }

  def render() {
    print "Height: " + self.height
    print "Width: " + self.width
  }
}

game = Game.new(10, 20)
game.render()
# =>
# Height: 10
# Width: 20
Once this is working, we can work on actually rendering the board. Rendering will happen in 2 phases. In phase 1, we’ll construct a 2-D matrix (a list of lists, discussed at length in PPAB’s #1, #3 and #4 if you could use an introduction or refresher) of the state of each square. Since we don’t yet have a snake, to start with all squares will be empty. Every value in our matrix will therefore be None or nil or whatever your language calls it:
[
  [None, None, None, None, None],
  [None, None, None, None, None],
  [None, None, None, None, None],
  # ...etc...
]
In phase 2 we’ll format this matrix and print it to your terminal. I’d suggest adding borders to the edge of the display, both to make sure that it’s working, and to make sure that your player knows when they are about to charge into a wall.
+--------+
|        |
|        |
|        |
|        |
+--------+
In pseudo-code the 2 phases might look something like:
# Pseudo-code:

class Game {

  def initialize(height, width) {
    self.height = height
    Self.width = width
  }

  def board_matrix() {
    # TODO: return a matrix
  }

  def render() {
    matrix = self.board_matrix()
    # TODO: print the matrix
    # for row in matrix:
    #   ...
  }
}
Over to you. Extend our Game class and use its render method to print an empty board to the terminal.
3. Initialize a snake and render it
We have a board - now let’s add in a snake. The Snake class will be very simple - all it will be responsible for is keeping track of the snake’s position and direction. We’ll store positions as tuples (essentially the same as arrays) of x and y co-ordinates. A snake’s body will therefore be an array of tuples of the co-ordinates of its body segments:
[
  (2, 2),
  (2, 3),
  (3, 3),
  (4, 3)
  # …etc
]
We’ll store directions as tuples too. A direction tuple will give the change in co-ordinates that would be caused by taking a step in the direction. This is an example of a mathematical construct called a vector. For instance:
# Assume a standard co-ordinate grid where
# the bottom-left corner is (0, 0), and
# co-ordinates increase as you go up or
# right.
#
# If you take a step `up` then your x
# co-ordinate doesn't change, and your y
# co-ordinate increases by 1, therefore:
UP = (0, 1)

# Similarly:
DOWN = (0, -1)
LEFT = (-1, 0)
RIGHT = (1, 0)

# Exercise for the reader - if snakes could
# move diagonally, what would the values
# of DIAGONALLY_UP_LEFT,
# DIAGONALLY_DOWN_RIGHT etc be?
Lets use these definitions to flesh out our Snake class:
- Start by adding
init_body and init_direction arguments to our Snake class’s constructor. Snakes need positions and directions as soon as they are born, and we have to tell them their initial place in the world at the time that we make them.
- Add a
take_step method that accepts a position argument. It should add this position to the front of the snake’s body, and pop off the back position. This will cause the snake to slither around the board, staying the same length.
- Add a
set_direction method that accepts a direction argument, and sets the argument as the snake’s direction
- Add a
head method that returns the position of the front of the snake’s body
SPOILER ALERT - I’ve sketched out some pseudo-code for our Snake class below.
# Pseudo-code:

class Snake {

  def initialize(init_body, init_direction) {
    self.body = init_body
    self.direction = init_direction
  }

  def take_step(position) {
    self.body = self.body[1:] + [position]
  }

  def set_direction(direction) {
    self.direction = direction
  }

  def head() {
    return self.body[-1]
  }
}
With the skeleton of our Snake complete (TODO: do snakes have skeletons?), initialize a Snake in the constructor for Game:
# Pseudo-code:

# Define directions as constants to make them easier
# to reference:
UP = (0, 1)
# etc...

class Game {

  def initialize(height, width) {
    self.height = height
    self.width = width
    # We could also pass the snake's initial
    # body and direction into the constructor
    # for `Game` to make it easier to
    # configure. For now let's hardcode them.
    self.snake = Snake([(0, 0), (1, 0), (2, 0), (3, 0)], UP)
  }

  # (Rest of our `Game` code from previous
  # sections goes here)
}
Finally, update Game’s render function so that it prints the snake in the board, using Os for the body and X for the head. Test a few different snake bodies by changing the hardcoded values in Game’s constructor, and make sure that they all print correctly.
+--------+
| X      |
| O      |
| OOO    |
|   O    |
+--------+
4. Let the player pilot their snake
The best games are those that the player gets to play at some point. Let’s allow our player to pilot their snake.
Since this is version 1, we’ll make a few simplifications and take a few shortcuts. In hi-tech versions of Snake, the snake is always moving. If the player presses a direction key then it changes direction, but if they don’t then it just keeps on moving in the same direction. It doesn’t wait around.
However, since we are using the terminal as our display, this type of continuous movements is harder to implement. Terminals usually only recognize new input when the user presses the Enter key, and until they do, they just sit there, waiting.
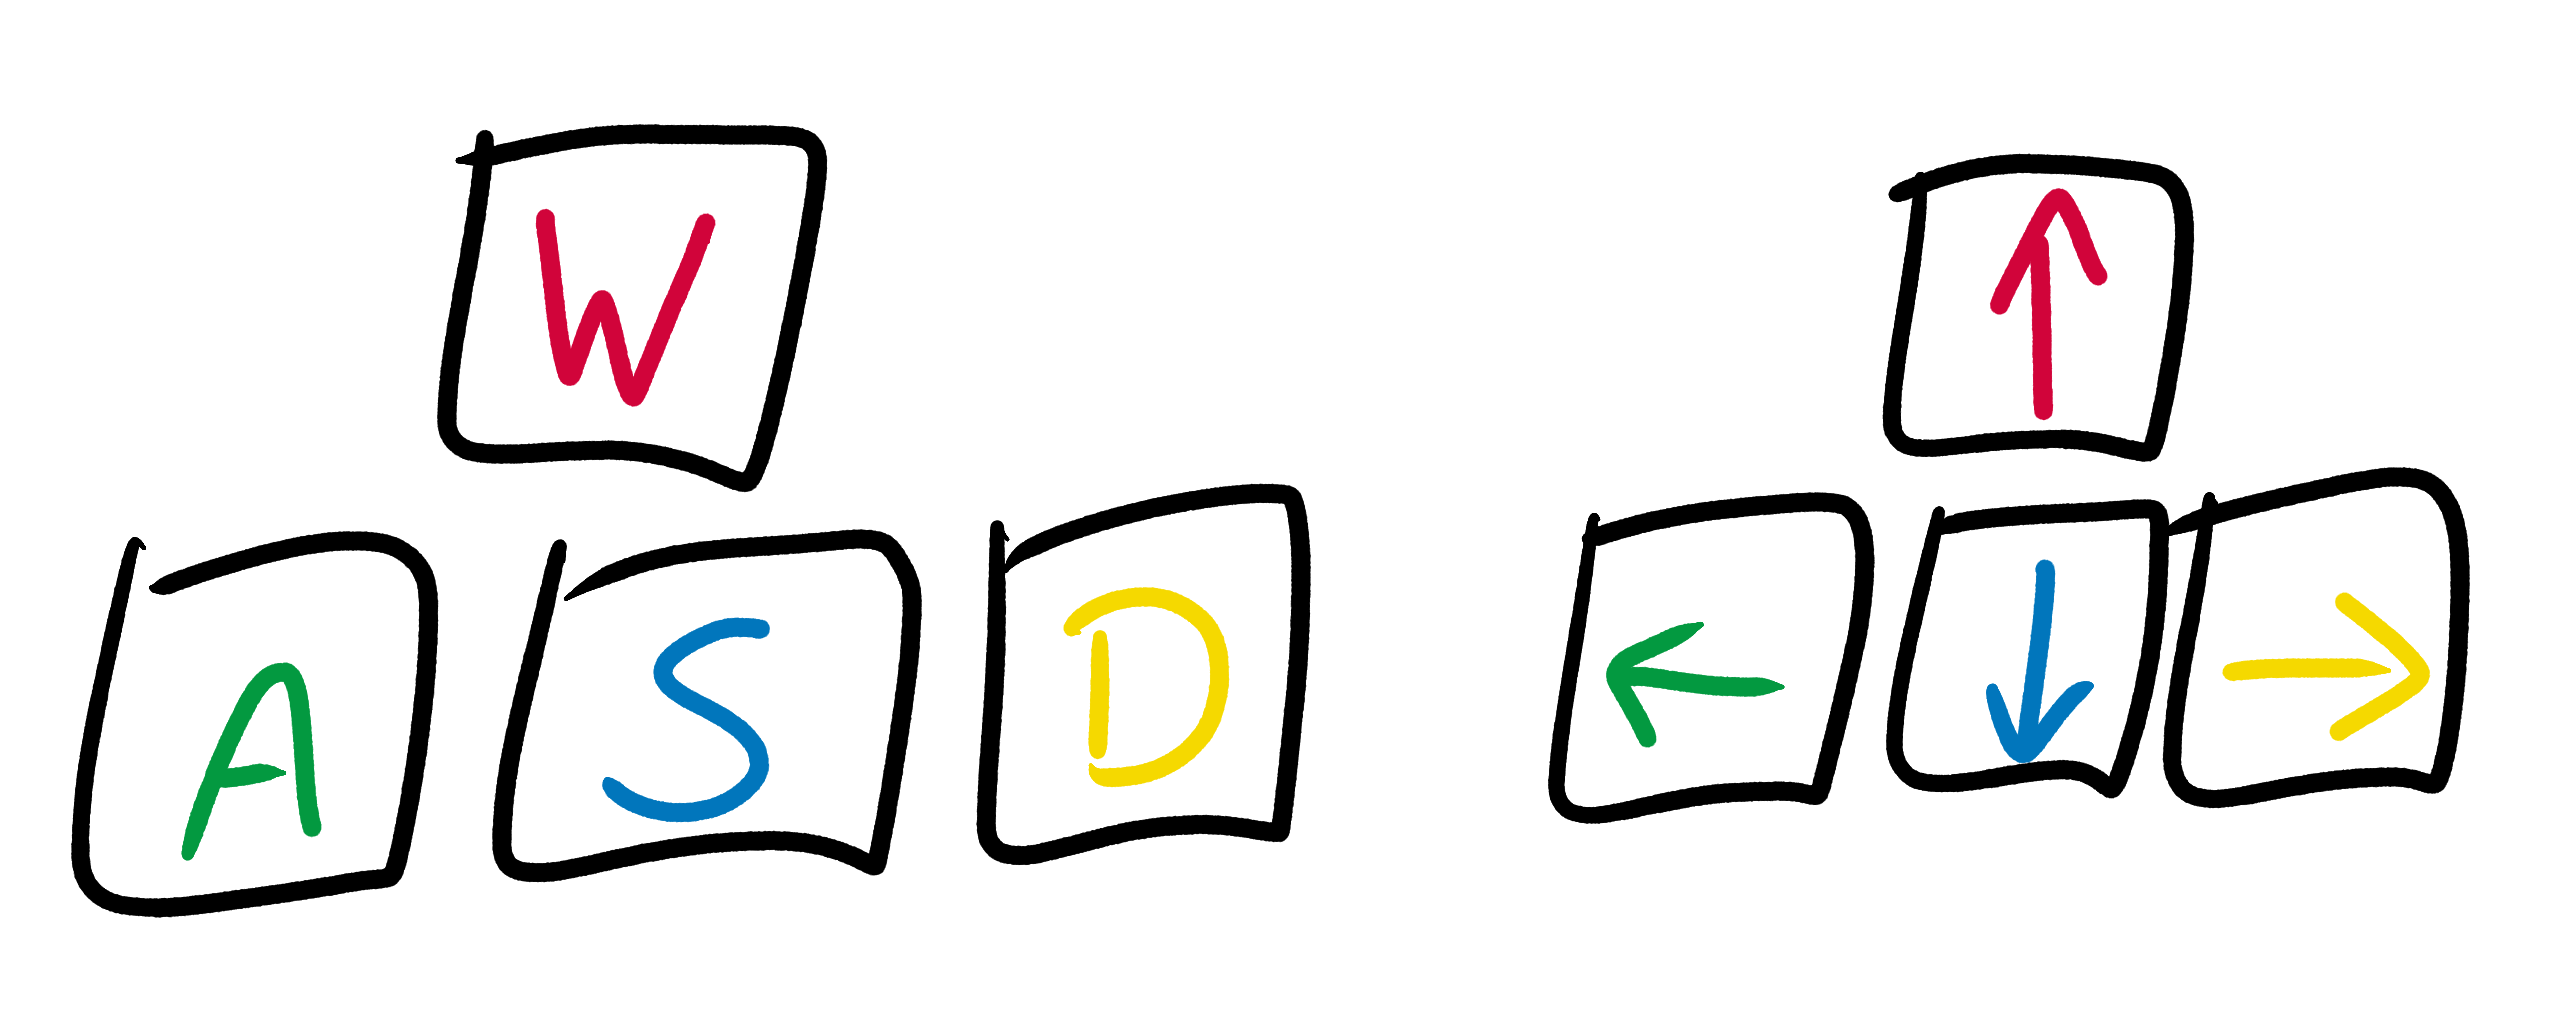
We’re therefore going to require that the player press Enter every time they want their snake to take a slither. We’ll map the letters W, S, A, and D to up, down, left, and right respectively. If the player presses W and then Enter, their snake will slink one square up. If they press S then Enter then it will slink one square down. And it they just hit Enter without pressing any other key, then it will slink one square in whichever direction it was traveling before. This won’t make for a fast-paced thrillfest, but it will make for an excellent prototype, and the player can get into a surprisingly satisfying rhythm of key-Enter-key-Enter anyway.
We’ll turn this into a constantly updating game display in the same way as we did in Game of Life. After every move, we’ll simply use our render function to print the new state of the board. This won’t replace the old state of the board in the terminal, but it will push it out of the field of view, which to the slow and unoptimized human eye will look like almost the same thing.
Give this a go. Accept input from the player and use it to move our snake around the board. Make sure you test your code rigorously. Verify you can slither right into every corner without causing an Array index out of bound! error. Think about what should happen if a snake is heading UP, and the player presses the key for DOWN. I personally like just ignoring their bamboozling command, but you might prefer to handle it differently.
If the player crashes into their own body, the laws of the universe say that they should die. But for now, allow the player to glide through themselves without coming to any harm. For a fleeting second, let the player be immortal.

Their time will come.
5. Work out when the player has died
That was quick.
In reality, if a snake bashes into its own body, the blunt force trauma kills it instantly. Update our game so that if the player crashes their snake into itself then their game is over. Print a message of condolence and exit the program.
In “Snake” for the Nokia 3210 phone, players were also killed if they bashed into a wall. In the sequel, “Snake 2” for the Nokia 3310, technology advances allowed them to wrap around to the other side of the world instead.
You can decide which rule you want to use. You could even give the player the option to choose.
6. Feed the snake
The goal of every snake is the same - to eat as many apples as possible before crashing into itself. Of course, the more apples a snake eats, the longer it gets, and the longer it gets, the more likely it is to crash into itself. There’s an allegory about the perils of greed in there somewhere.
At the beginning of our game, place an apple on the board in a random location. When the snake’s head runs over the apple and eats it, give the player a point. Remove the apple, place another one in a new location, and make the snake’s body 1 square longer.
Don’t try to do everything at once - whenever I do this I almost always end up achieving nothing. Break the task into smaller chunks, and make sure each chunk works before moving onto the next one. For example
- At the start of the game, generate an apple in a random location. Render it on the board
- When the player eats an apple, remove it and generate a new apple in a new random location
- When the player eats an apple, extend their body by 1 square
- When the player eats an apple, increment their score by 1
- When the player dies, tell them how many points they scored
Then we’re done.
7. Congratulations!
You now have a fully functional world. Snakes are born. They eat, they grow. If they put a single foot wrong then they die. And when they die, their achievements are weighed and evaluated, and they are judged. Congratulations!
Here are your 4 next steps:
- Tackle the extension section below
- Complete my other Programming Projects for Advanced Beginners - ASCII art, Game of Life, Tic-Tac-Toe AI, and Photomosaics
- Send me a message to let me know about your success. I’d love to know what you liked and didn’t like about the project, and any ideas you have for making the next one better
- Sign up for my newsletter at the bottom of this page to find out about new projects as they are published
Once again, congratulations!
NEW
Subscribe to my new "Programming Feedback for Advanced Beginners"
newsletter to receive concise weekly emails containing specific,
real-world ways to make your code cleaner and more professional.
Each week I review code sent to me by one of my readers. I highlight
the things that I like, discuss the
things that I think could be better, and offer suggestions for how
the author could make their code cleaner and easier to work with.
Subscribe now to receive these invaluable improvements in your inbox
every week, completely free.
Extension - follow your dreams
In the introduction to this project I asked you to come up with a list of ideas for features to add to our Snake game. Now that our prototype is complete, it’s time to bring those ideas to reality. “Can I have multiple apples?” Yes. “Can it be 2 player?” Uh-huh. “Can I make the board a maze?” You’re the boss. If you see another Snake game with an idea that you like, steal it. If you think of another game you’d like to implement in the terminal, go right ahead.
Try making the display better. Look into UI tools for your language and make a desktop app, or research the curses library and how you can use it to make terminal applications that don’t require pressing Enter after every action.
This is a programming project for Advanced Beginners. If you’ve completed all the introductory programming tutorials you can find and want to sharpen your skills on something bigger, this project is for you. You’ll get thrown in at the deep end. But you’ll also get gentle reminders on how to swim, as well as some new tips on swimming best practices. You can do it using any programming language you like, and if you get stuck I’ve written some example code that you can take inspiration from.
Subscribe to my new "Programming Feedback for Advanced Beginners" newsletter to receive concise weekly emails containing specific, real-world ways to make your code cleaner and more professional.
Each week I review code sent to me by one of my readers. I highlight the things that I like, discuss the things that I think could be better, and offer suggestions for how the author could make their code cleaner and easier to work with.
Subscribe now to receive these invaluable improvements in your inbox every week, completely free.
Press start to play
In this project you’re going to build the classic game “Snake”. In Snake, the player pilots a snake around a grid, trying to eat apples and avoid crashing into walls or their own tail. Each time the snake eats an apple, its body gets longer. Eventually it eats so many apples and its body gets so long that it fills up the entire world. Death becomes inescapable, and the player is suffocated beneath their own success and greed.
The first version of Snake was written in the 1970s for an ancient computer with an acronym instead of a name, but the first time that I and many other people of a certain age played it was in the 1990s on the Nokia 3210 mobile phone. If you have never owned a Nokia phone then Google has a vanilla version that you can try out. Our version will be much better.
Design decisions
Before we write a single line of code, we have a lot of design decisions to make. Should our game run in the terminal? On a browser? What should the gameplay be like? How fun should it be? What ingredients should it have? Make a list of as many different features that our Snake game could have as you can dream up. For now don’t worry whether your ideas are good, desirable, or even remotely possible. There are no rules apart from the normal requirements of human decency. How about:
- 2-player mode
- 2-player mode over the internet
- AI players
- High-score leaderboard
- Slow-motion replay mode
- Maze mode
- …keep going
Done? OK. That was the bait; now it’s time for for the switch. We’ll get to all of your no doubt first-rate ideas eventually, but our first version of Snake is going to be a frill-free environment. It will run in the terminal; the player will have to press “enter” every time they want to make a move; and there will definitely not be a 2-player mode, at least not at first. Once we’ve got this prototype working then we’ll let loose and build out of the advanced features that you just came up with, but we’re going to begin by taking things one slither at a time.
This is the first Programming Project for Advanced Beginners in which I’m going to recommend that you use Object-Oriented Programming (OOP). If you haven’t come across OOP before, you have several options. First, you can go back to the previous PPABs and work through without using OOP for now. Second, you can go to Google and get familiar with the core concepts behind OOP before continuing with this project. Finally, you can push on and pick things up as you go along. All of these approaches are valid.
Remember, you never have to use OOP. Any code written with objects and classes can also be written without them. But I’m recommending OOP for this project because I foresee that it is going to become long and complex, and I believe that the extra structure that OOP brings will be invaluable. We’ll be able to group related functionality and data together into different classes, which will be much easier to work with than a single big ol’ pile of methods.
Fear and paralysis
Before we begin, I’d like to say a few words on fear and paralysis.
It’s often said that software design has no rules, only principles. The principles of OOP design could fill more pages than a complete guide to infinite loops. These principles can all be invaluable tools for writing great software, but they come inextricably bundled with a bumper-pack of novel ways in which to worry that you’re doing it wrong. This makes it more critical than ever that you remember Principle 0: don’t get paralyzed by the fear of makking a mistork.
(See?)
This doesn’t mean that principles 1 through 45,819 aren’t important, correct, and helpful. But they’re what version 2 and the rest of your career are for. You can always go back and improve your code once you’ve written a first draft, and if your first draft already works then maybe that shows that it can be OK to ignore principle 5,612 every now and then. But if you don’t remember Principle 0 - don’t get paralyzed by the fear of makking a mistork - then you won’t even have a first draft to go back to.
Sophisticated design principles can make your code faster, more flexible, more modular, and all of the other positive adjectives that people use to describe high-quality software. But they also make it more complex. AbstractSyntaxRenderers and DoubleBackflipDatabaseTransmogrophiers do make some programs clearer and easier to understand, especially large ones. But they can also be the equivalent of using a metrics-oriented, fully agile, stakeholder-prioritized development flow for working on a jigsaw puzzle with your dad. Sure you’re following best practices, but you probably didn’t need to, and now your dad thinks you’re a Scientologist.
Don’t mistake this for anti-intellectualism. Best practices are called “best” for a reason. But best is sometimes in the eye of the beholder and the task that they are beholden to. If your code works then you did it! Sure, if we were going to release it as a product then we might rework a few things first, and I suppose it could be a bit faster, and yes these things do matter. But you did it! Writing version 1 will often teach you more about the problem you are trying to solve than hours of office-chair philosophizing. It’s often easier to improve something simple but a bit wrong than something correct but overcomplex.
Do the best you can with the tools you have available, and keep making forward progress. Speaking of:
The Plan
As with all Programming Projects for Advanced Beginners, we’ll tackle this project one small milestone at a time. We’ll check that our program behaves as we expect after each milestone, and we’ll be constantly vigilant for bugs at all times, not just at the end. I’ve broken up building our Snake prototype into 6 steps:
- Set up our 3 main classes -
Snake,Apple, andGame - Render an empty board
- Initialize a snake and render it in the board
- Let the player pilot their snake
- Work out when the player has died
- Add apples to the board and let the player eat them
Let’s begin.
1. Set up our classes
Start by sketching out placeholders for our classes. We’ll begin with 3 - Snake, Apple, and Game. We’ll fill them in with some actual logic in later steps.
# This is *pseudo-code* - translate it into
# whatever language you are using.
class Snake {
}
class Apple {
}
class Game {
}
The purpose of a class is often expressed in terms of what it is and is not responsible for. For example, our Snake class will be responsible for very little. Its job will be to store data about where our snake is and which direction it is heading, and very little else. It will not be responsible for keeping track of how many points the player has. It will not be responsible for printing anything to the terminal. It will not even be responsible for working out when the snake has bashed into itself and died.
Our Apple class will be responsible for even less than our Snake. All it will store is an apple’s location on the board. You could argue that Apple doesn’t even need to be a class, and that the apple’s location could just be a simple variable inside Game. I personally think it’s still good to have an Apple class - partly for consistency with the fact that we have a Snake class, and partly because I can easily see us adding more properties to Apple, for example making each apple worth a variable number of points.
All of the responsibility for actually executing the game will be pushed into our Game class. This is where we’ll get input from the player, display the board, keep track of point totals, and manage everything else that our program does. As our program gets longer and more complex, we’ll start breaking parts of Game’s functionality off into new classes. Maybe we’ll have a Renderer that will be responsible for displaying the game state. We might also want a Player class that takes charge of asking the player (or maybe an AI) for their next move. We might even want a Board class, dedicated to managing the positions of our Snakes and Apples.
However, we don’t have to add any of these finesses until they’re actually needed, which won’t be until the extensions section of this project. We’ll start by keeping things simple and putting all of our logic in our single Game class. We’ll use our visions for the future to group together pieces of related logic, making them easy to break off into separate classes when the time comes.
2. Render an empty board
Now let’s work on displaying the board. This will give us a nicely-formatted way to inspect the state of our program, and will make debugging the rest of our code much easier.
We need to start by setting the height and width of our board. Add height and width as arguments of our Game class’s constructor method. Add a render method. This will eventually print our game state to the terminal. For now, simply have it print out the game’s height and the width. Test it out.
# Pseudo-code:
class Game {
def initialize(height, width) {
self.height = height
self.width = width
}
def render() {
print "Height: " + self.height
print "Width: " + self.width
}
}
game = Game.new(10, 20)
game.render()
# =>
# Height: 10
# Width: 20
Once this is working, we can work on actually rendering the board. Rendering will happen in 2 phases. In phase 1, we’ll construct a 2-D matrix (a list of lists, discussed at length in PPAB’s #1, #3 and #4 if you could use an introduction or refresher) of the state of each square. Since we don’t yet have a snake, to start with all squares will be empty. Every value in our matrix will therefore be None or nil or whatever your language calls it:
[
[None, None, None, None, None],
[None, None, None, None, None],
[None, None, None, None, None],
# ...etc...
]
In phase 2 we’ll format this matrix and print it to your terminal. I’d suggest adding borders to the edge of the display, both to make sure that it’s working, and to make sure that your player knows when they are about to charge into a wall.
+--------+
| |
| |
| |
| |
+--------+
In pseudo-code the 2 phases might look something like:
# Pseudo-code:
class Game {
def initialize(height, width) {
self.height = height
Self.width = width
}
def board_matrix() {
# TODO: return a matrix
}
def render() {
matrix = self.board_matrix()
# TODO: print the matrix
# for row in matrix:
# ...
}
}
Over to you. Extend our Game class and use its render method to print an empty board to the terminal.
3. Initialize a snake and render it
We have a board - now let’s add in a snake. The Snake class will be very simple - all it will be responsible for is keeping track of the snake’s position and direction. We’ll store positions as tuples (essentially the same as arrays) of x and y co-ordinates. A snake’s body will therefore be an array of tuples of the co-ordinates of its body segments:
[
(2, 2),
(2, 3),
(3, 3),
(4, 3)
# …etc
]
We’ll store directions as tuples too. A direction tuple will give the change in co-ordinates that would be caused by taking a step in the direction. This is an example of a mathematical construct called a vector. For instance:
# Assume a standard co-ordinate grid where
# the bottom-left corner is (0, 0), and
# co-ordinates increase as you go up or
# right.
#
# If you take a step `up` then your x
# co-ordinate doesn't change, and your y
# co-ordinate increases by 1, therefore:
UP = (0, 1)
# Similarly:
DOWN = (0, -1)
LEFT = (-1, 0)
RIGHT = (1, 0)
# Exercise for the reader - if snakes could
# move diagonally, what would the values
# of DIAGONALLY_UP_LEFT,
# DIAGONALLY_DOWN_RIGHT etc be?
Lets use these definitions to flesh out our Snake class:
- Start by adding
init_bodyandinit_directionarguments to ourSnakeclass’s constructor. Snakes need positions and directions as soon as they are born, and we have to tell them their initial place in the world at the time that we make them. - Add a
take_stepmethod that accepts apositionargument. It should add this position to the front of the snake’s body, and pop off the back position. This will cause the snake to slither around the board, staying the same length. - Add a
set_directionmethod that accepts adirectionargument, and sets the argument as the snake’s direction - Add a
headmethod that returns the position of the front of the snake’s body
SPOILER ALERT - I’ve sketched out some pseudo-code for our Snake class below.
# Pseudo-code:
class Snake {
def initialize(init_body, init_direction) {
self.body = init_body
self.direction = init_direction
}
def take_step(position) {
self.body = self.body[1:] + [position]
}
def set_direction(direction) {
self.direction = direction
}
def head() {
return self.body[-1]
}
}
With the skeleton of our Snake complete (TODO: do snakes have skeletons?), initialize a Snake in the constructor for Game:
# Pseudo-code:
# Define directions as constants to make them easier
# to reference:
UP = (0, 1)
# etc...
class Game {
def initialize(height, width) {
self.height = height
self.width = width
# We could also pass the snake's initial
# body and direction into the constructor
# for `Game` to make it easier to
# configure. For now let's hardcode them.
self.snake = Snake([(0, 0), (1, 0), (2, 0), (3, 0)], UP)
}
# (Rest of our `Game` code from previous
# sections goes here)
}
Finally, update Game’s render function so that it prints the snake in the board, using Os for the body and X for the head. Test a few different snake bodies by changing the hardcoded values in Game’s constructor, and make sure that they all print correctly.
+--------+
| X |
| O |
| OOO |
| O |
+--------+
4. Let the player pilot their snake
The best games are those that the player gets to play at some point. Let’s allow our player to pilot their snake.
Since this is version 1, we’ll make a few simplifications and take a few shortcuts. In hi-tech versions of Snake, the snake is always moving. If the player presses a direction key then it changes direction, but if they don’t then it just keeps on moving in the same direction. It doesn’t wait around.
However, since we are using the terminal as our display, this type of continuous movements is harder to implement. Terminals usually only recognize new input when the user presses the Enter key, and until they do, they just sit there, waiting.
We’re therefore going to require that the player press Enter every time they want their snake to take a slither. We’ll map the letters W, S, A, and D to up, down, left, and right respectively. If the player presses W and then Enter, their snake will slink one square up. If they press S then Enter then it will slink one square down. And it they just hit Enter without pressing any other key, then it will slink one square in whichever direction it was traveling before. This won’t make for a fast-paced thrillfest, but it will make for an excellent prototype, and the player can get into a surprisingly satisfying rhythm of key-Enter-key-Enter anyway.
We’ll turn this into a constantly updating game display in the same way as we did in Game of Life. After every move, we’ll simply use our render function to print the new state of the board. This won’t replace the old state of the board in the terminal, but it will push it out of the field of view, which to the slow and unoptimized human eye will look like almost the same thing.
Give this a go. Accept input from the player and use it to move our snake around the board. Make sure you test your code rigorously. Verify you can slither right into every corner without causing an Array index out of bound! error. Think about what should happen if a snake is heading UP, and the player presses the key for DOWN. I personally like just ignoring their bamboozling command, but you might prefer to handle it differently.
If the player crashes into their own body, the laws of the universe say that they should die. But for now, allow the player to glide through themselves without coming to any harm. For a fleeting second, let the player be immortal.
Their time will come.
5. Work out when the player has died
That was quick.
In reality, if a snake bashes into its own body, the blunt force trauma kills it instantly. Update our game so that if the player crashes their snake into itself then their game is over. Print a message of condolence and exit the program.
In “Snake” for the Nokia 3210 phone, players were also killed if they bashed into a wall. In the sequel, “Snake 2” for the Nokia 3310, technology advances allowed them to wrap around to the other side of the world instead.
You can decide which rule you want to use. You could even give the player the option to choose.
6. Feed the snake
The goal of every snake is the same - to eat as many apples as possible before crashing into itself. Of course, the more apples a snake eats, the longer it gets, and the longer it gets, the more likely it is to crash into itself. There’s an allegory about the perils of greed in there somewhere.
At the beginning of our game, place an apple on the board in a random location. When the snake’s head runs over the apple and eats it, give the player a point. Remove the apple, place another one in a new location, and make the snake’s body 1 square longer.
Don’t try to do everything at once - whenever I do this I almost always end up achieving nothing. Break the task into smaller chunks, and make sure each chunk works before moving onto the next one. For example
- At the start of the game, generate an apple in a random location. Render it on the board
- When the player eats an apple, remove it and generate a new apple in a new random location
- When the player eats an apple, extend their body by 1 square
- When the player eats an apple, increment their score by 1
- When the player dies, tell them how many points they scored
Then we’re done.
7. Congratulations!
You now have a fully functional world. Snakes are born. They eat, they grow. If they put a single foot wrong then they die. And when they die, their achievements are weighed and evaluated, and they are judged. Congratulations!
Here are your 4 next steps:
- Tackle the extension section below
- Complete my other Programming Projects for Advanced Beginners - ASCII art, Game of Life, Tic-Tac-Toe AI, and Photomosaics
- Send me a message to let me know about your success. I’d love to know what you liked and didn’t like about the project, and any ideas you have for making the next one better
- Sign up for my newsletter at the bottom of this page to find out about new projects as they are published
Once again, congratulations!
Subscribe to my new "Programming Feedback for Advanced Beginners" newsletter to receive concise weekly emails containing specific, real-world ways to make your code cleaner and more professional.
Each week I review code sent to me by one of my readers. I highlight the things that I like, discuss the things that I think could be better, and offer suggestions for how the author could make their code cleaner and easier to work with.
Subscribe now to receive these invaluable improvements in your inbox every week, completely free.
Extension - follow your dreams
In the introduction to this project I asked you to come up with a list of ideas for features to add to our Snake game. Now that our prototype is complete, it’s time to bring those ideas to reality. “Can I have multiple apples?” Yes. “Can it be 2 player?” Uh-huh. “Can I make the board a maze?” You’re the boss. If you see another Snake game with an idea that you like, steal it. If you think of another game you’d like to implement in the terminal, go right ahead.
Try making the display better. Look into UI tools for your language and make a desktop app, or research the curses library and how you can use it to make terminal applications that don’t require pressing Enter after every action.